Alright, so you want to know how to add your NOL card to Google Wallet. Makes sense—who wants to carry around extra cards in 2024 when everything can be on your phone? I’ve got you covered with the easiest, straight-to-the-point guide.
Let’s jump in.
Why Add Your NOL Card to Google Wallet?
Think about it. You’re running late for the metro. You’re digging through your bag, trying to find that NOL card. It’s frustrating, right?
Here’s where Google Wallet comes in. Add your NOL card, and it’s just a tap away.
No more fussing around with a physical card.
No more holdups.
Just tap your phone and go.
Here’s how to add your NOL card to Google Wallet step-by-step. It’s quick, and you’ll thank yourself every time you breeze onto the metro.
Step-by-Step: How to Add NOL Card to Google Wallet

Step 1: Get Google Wallet Ready
- First, make sure you have Google Wallet installed. If not, head to the Google Play Store, download it, and get it set up.
Step 2: Open Google Wallet
- Open the Google Wallet app on your phone.
- Tap on “Add to Wallet” at the bottom of the screen.
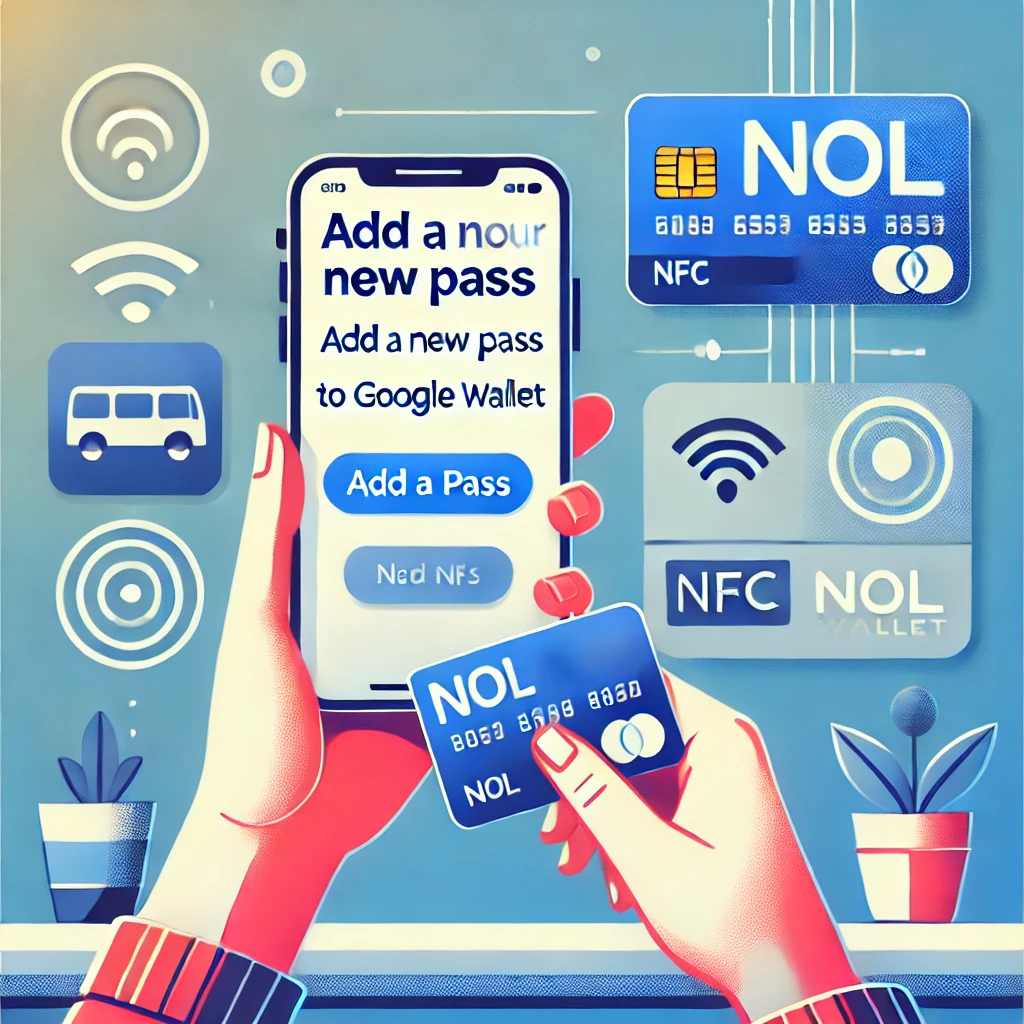
Step 3: Add a New Pass
- Select “Add a Pass”.
- Choose Transit Pass from the available options.
Step 4: Select NOL Card
- NOL card should be in the list of transit systems.
- Not seeing it? It might not be supported yet. Check back later or use another payment method in the meantime.
Step 5: Scan or Enter Details

- Use your phone’s camera to scan your physical NOL card.
- Or manually enter the card details if scanning isn’t working for some reason.
Step 6: Verify and Save
- Double-check the details are correct.
- Tap on “Save” and you’re good to go.
That’s it. You’ve just added your NOL card to Google Wallet.
What Does This Mean?
Adding the NOL card doesn’t transfer your existing balance into Google Wallet—it just lets you use your NOL card through your phone. So, no need to worry if your physical card still has a balance.
What You Need to Add Your NOL Card to Google Wallet
Now, before you go through the steps, make sure you’ve got the following:
- NFC-Enabled Phone: Your phone needs NFC to make this work. It’s what allows your device to “tap” for payments.
- Secure Device: Your phone should be non-rooted and running a standard Android setup. Basically, don’t mess with the default.
- Google Wallet Updated: Make sure you’re on the latest version of Google Wallet. If you haven’t updated in a while, do that first.
These are the requirements to get your NOL card added to Google Wallet without any hiccups.
Related: How to Activate Pending NOL Card Balance
FAQs: Adding NOL Card to Google Wallet
1. Is it free to add my NOL card to Google Wallet?
Yes. No charge to add it. But remember, this doesn’t replace topping up your NOL balance—you’ll still need to load funds using RTA kiosks or the RTA app.
2. Can I use Google Wallet for all public transportation in Dubai?
Absolutely. Once your NOL card is in Google Wallet, you can use it for the metro, buses, and trams across Dubai. Just make sure you have a positive balance.
3. My NOL card isn’t showing up. What gives?
If you can’t see NOL card in the Transit Pass options, it might not be supported yet. Try updating the Google Wallet app or wait for further integration from RTA.
4. Do I need my physical NOL card once it’s in Google Wallet?
Not really. But I’d keep it around for those times your phone battery might die or if there are any issues with Google Wallet.
The Bottom Line
Getting your NOL card into Google Wallet will make your life easier. We’re talking speed, convenience, and less hassle.
Adding your NOL card to Google Wallet means you’ll be ready to ride, without digging through your bag for a piece of plastic.
If you’re riding the metro, bus, or tram in Dubai, set aside 5 minutes to make this happen.
For all things NOL card and simplifying your travel in the UAE, you’re in the right spot.
Related Guides You Might Find Helpful:
Stay ready, stay digital, and enjoy the ride.

